Application
DIY APPLICATION KIT INSTRUCTIONS
- Prepare a protected work space next to a sink.
- Have a timer handy.
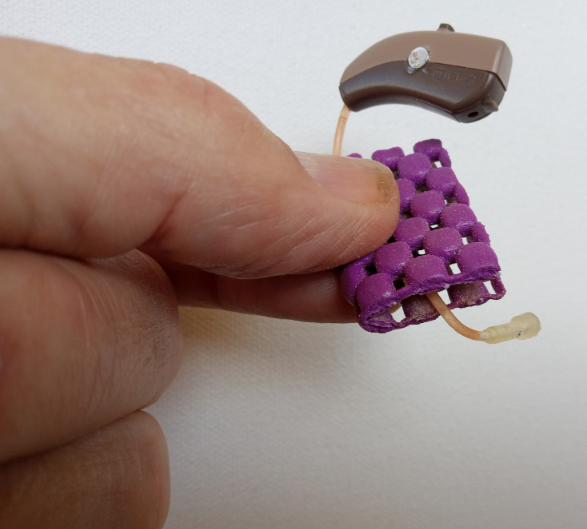
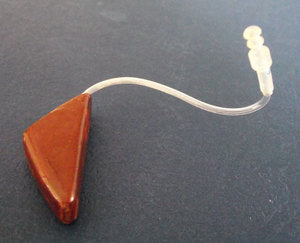
- Remove the dome on each hearing aid.
Step 1
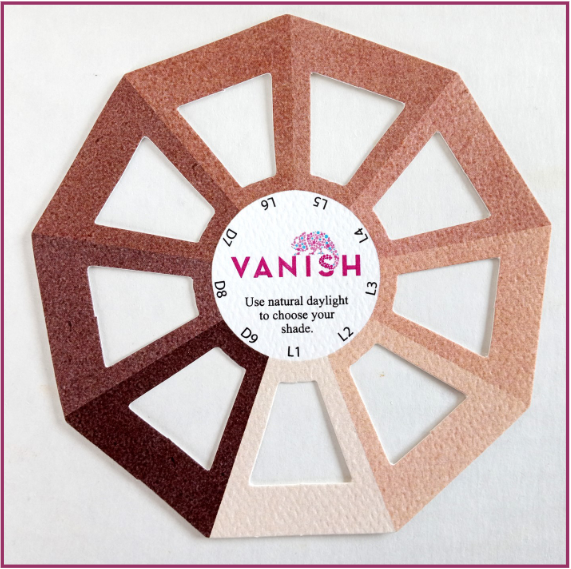
Use the color wheel to determine which color will best match your skin tone. Natural sunlight outside is the best light to get an accu- rate reading. A hand mirror and a trusted friend will be helpful.

Step 2
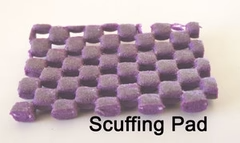
The scuffing pads have a smooth side and a sandy side. With the sandy side facing inside, wrap a scuffing pad around the hearing aid tube.

Holding the hearing aid shell, gently squeeze the scuffing pad and stroke it back and forth the length and all sides of the tube. Reverse the direction by holding by the speaker end and do the same. We want the tube to lose it’s shiny reflective sur- face and look like frosted glass.
A well scuffed tube will insure a long-lasting dye job. DO NOT minimize this important step.

Step 3
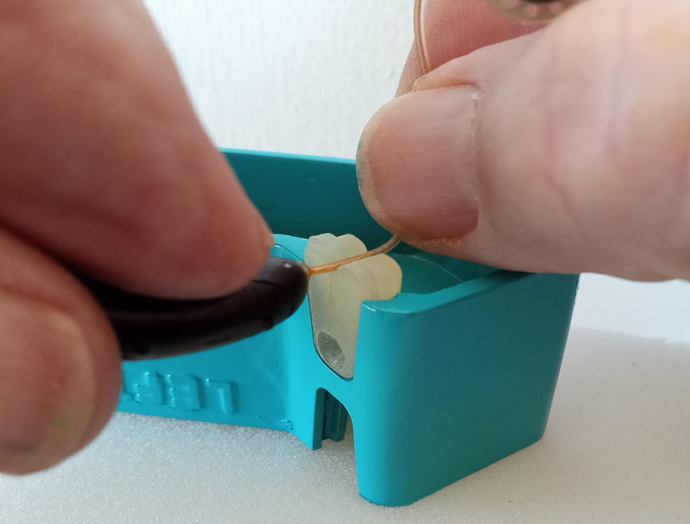
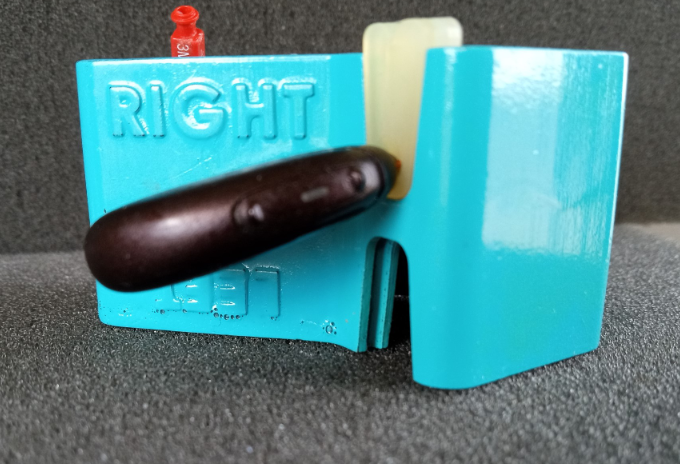
The soaking tray has a grommet already placed in the right hearing aid soaking position. Place your right hearing aid tube over the seam in the grommet, with the shell of the hearing aid on the outside of the tray. Use one hand to hold the hearing aid, and one to hold the tube, force the tube down to the very bottom of the grommet.

Step 4
Make sure the grommet is pushed all the way down in the tray and that the hearing aid shell is up against the side of the grommet. The hearing aid tube should be just resting on the bottom of the tray.

Step 5
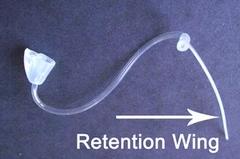
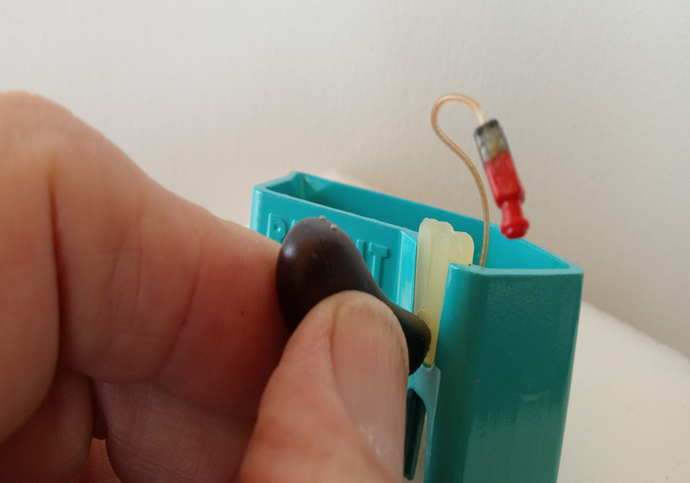
If the retainer wing is in the way, use the small plastic tube to hold it up against the speaker.

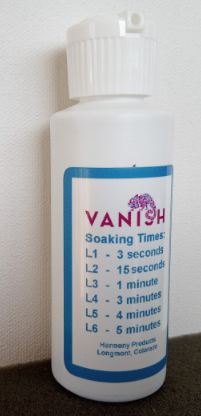
Use the label on the dye bottle to determine the soaking time for the skin tone you’ve chosen.

Step 6
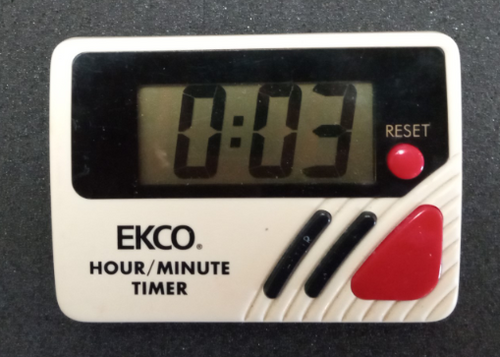
Set the timer for your desired soaking time

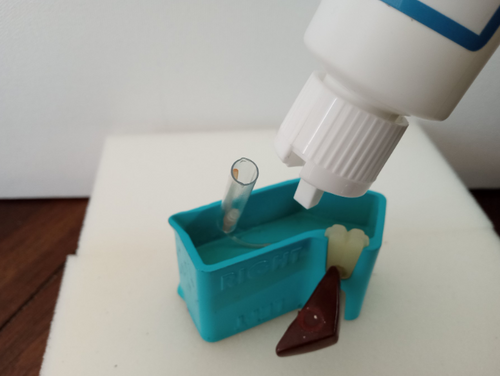
Shake the dye bottle for 8 seconds, flip the spout up on the cap, and drip in dye up to the bottom of the speaker.

Step 7
When the soaking time ends, use the hearing aid shell outside of the soaking tray to turn the hearing aid up and out of the dye. Pour the dye into an air tight bottle if you want to save the dye for reuse or if not pour it down a drain. It’s totally organic and won’t hurt anything.

Step 8
Pull the grommet out of the tray with the hearing aid attached. Use a paper towel to dry both the grommet and the tube. Remove the tube from the grommet. It can be worn immediately. Rinse the grommet off, dry, and place it in the Left tray channel and repeat all of the above with the left hearing aid.